
Review | Crystyler 12 by Norma Rapko
Reported by Maria Soto
I love working with crystals, so I was very excited to try out the Crystyler 12 tool from Walnut Hollow by designer and inventor Norma Rapko.
This fun tool will allow you to add crystals to embellish just about anything you feel needs some sparkle. I just had to try it on different surfaces! This tool makes it easy to fill in small and large areas with crystals faster. Before this, I used to pick up each crystal one at a time by hand to place on the glue areas of all my projects. It took me a long time to just work on one item alone doing that.
Below you will find photos of four projects I made. Each item was embellished with this tool and crystals, and it only took me about two hours to add the crystals on all four objects. Of course, I had to add the glue, then the crystals, but it was still a lot faster and I can’t wait to continue using these products in many future projects.
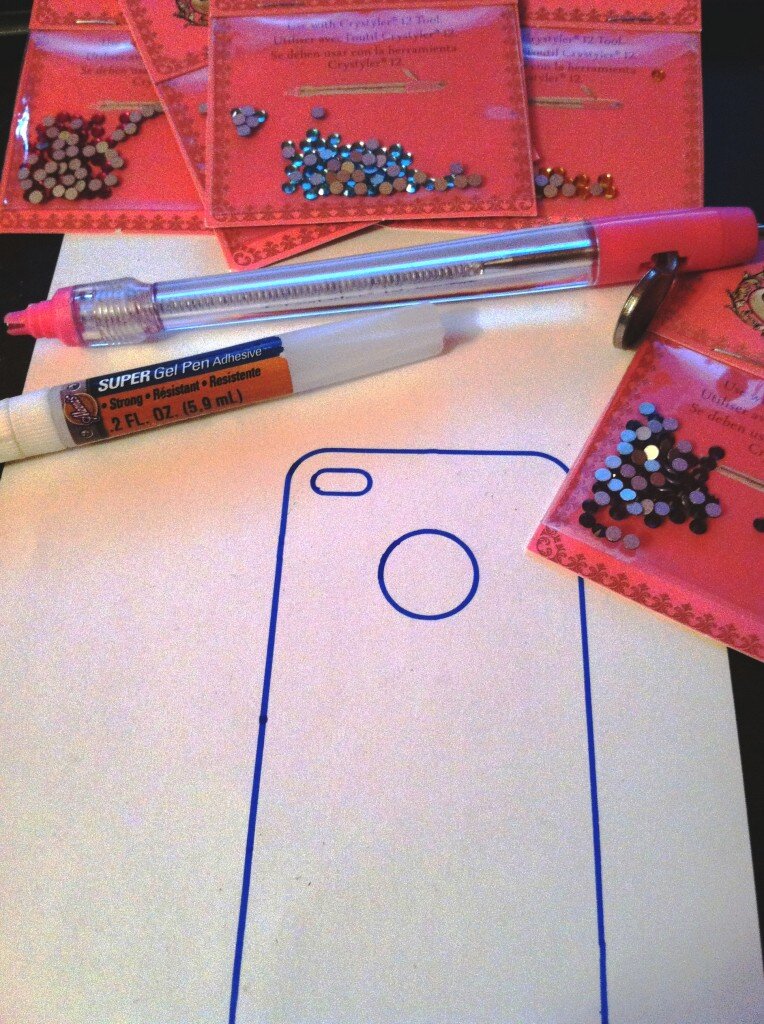
For my first project I embellished my daughter's simple phone case. She asked that I add a music note using crystals. I wanted to cover the entire case with crystals but her style is very simple, and so she specifically asked me to do a simple design.
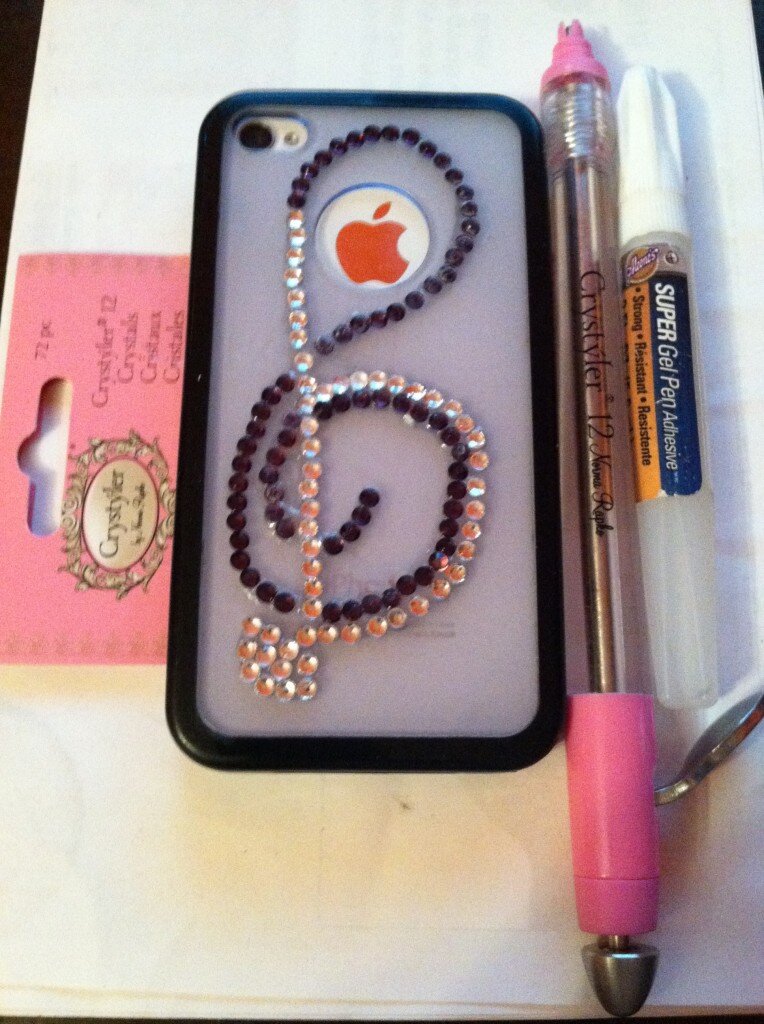
My daughter was very happy with her embellished phone case. I used the amethyst and clear crystals on this design.
The next item, this pretty bracelet, already has a nice sparkle on its own. But I thought a bit of color contrast would be nice to add some more sparkle to it. I decided to add the clear crystals since the bracelet had a gold/copper color already and the idea of adding blue, green, or gold crystals just didn't seem to work for me. I had no problems with the crystals' release on this bracelet and it now has added sparkle especially when you wear it outdoors.


I used the clear crystals to embellish the gold/copper bracelet.
I also had this pretty headband in gray color. I decided to add aquamarine and clear crystals to make it pretty and fun to wear. The crystals looked very pretty and once again I had no problems with the release of the crystals.

I purchased this black cast iron cross during the summer and although I liked the black color, I just knew I had to do something more to it. So I decided to paint it and to add tea crystals to the circle in the center of the cross by using the Crystyler.

Here is how the cross looks now. The silver and red paints are from Viva Decor, and the gold in the circle in the center of the cross is from all the crystals I added using the Crystýler. It is cold out now in Indiana, but come next spring this cross will be out on my front porch as a decoration. I can't wait to see all the sparkle from the crystals when the sunlight hits it!
I had read the directions on the package and had watched the instructional video from Norma on how to use the Crystýler, so I thought I was ready to use this tool. But I still had problems loading and releasing the crystals correctly and fast when I started on my first project. So in addition to following the instructions on the packaging, I would also recommend that you visit Norma Rapko’s website for tips and techniques on how to use this tool before you get started.
I wish I had read the tips before I started my first project, as it would have saved me time and I would have finished faster. The first time I loaded the Crystýler I used the hard surface of my desk. I believe that’s why I had a hard time with my first project. The crystals would not come out quickly. I had to clear out the Crystýler and reload the crystals twice because they went in crooked. After reading the tips and techniques I followed their recommendation to using a notebook or a silicone mat so your crystals can load in correctly. I used a notebook and it did make a difference when I pressed to release the crystals - they came out fast and easy.
Now, I have been working with crystals for many years, and until now I had never used any type of tool to adhere the flat back crystals to any of my projects, all I've used in the past is glue and my fingers to pick up each crystal. This tool made it easier for me to adhere the crystals, and faster, yes I had a few issues a few times with the crystals not coming out right away, and having to press three to four times, but at the end it worked out. I do recommend to give this tool a try and to make sure and follow all directions on how to use it.
Pros:
- Allows you to add crystals to your projects faster and easier
- The color coordination for the package of the two different sizes of Crystýler and the corresponding crystals makes it easy to purchase the right tool with the right size crystal
Cons:
- Loading crystals on a hard surface can cause the crystals to load crooked.
- Needs more color variety of crystals
- Limited to only two sizes of crystals
The Crystýler 12, for placing crystals 3mm to 3.2mm, can be purchased at Michael's, Amazon.com, and other outlets for around $19.99. Accessory packs of crystals are also available. There is also a Crystýler 20 tool to work with crystals that are sized 4.6mm to 4.8mm